






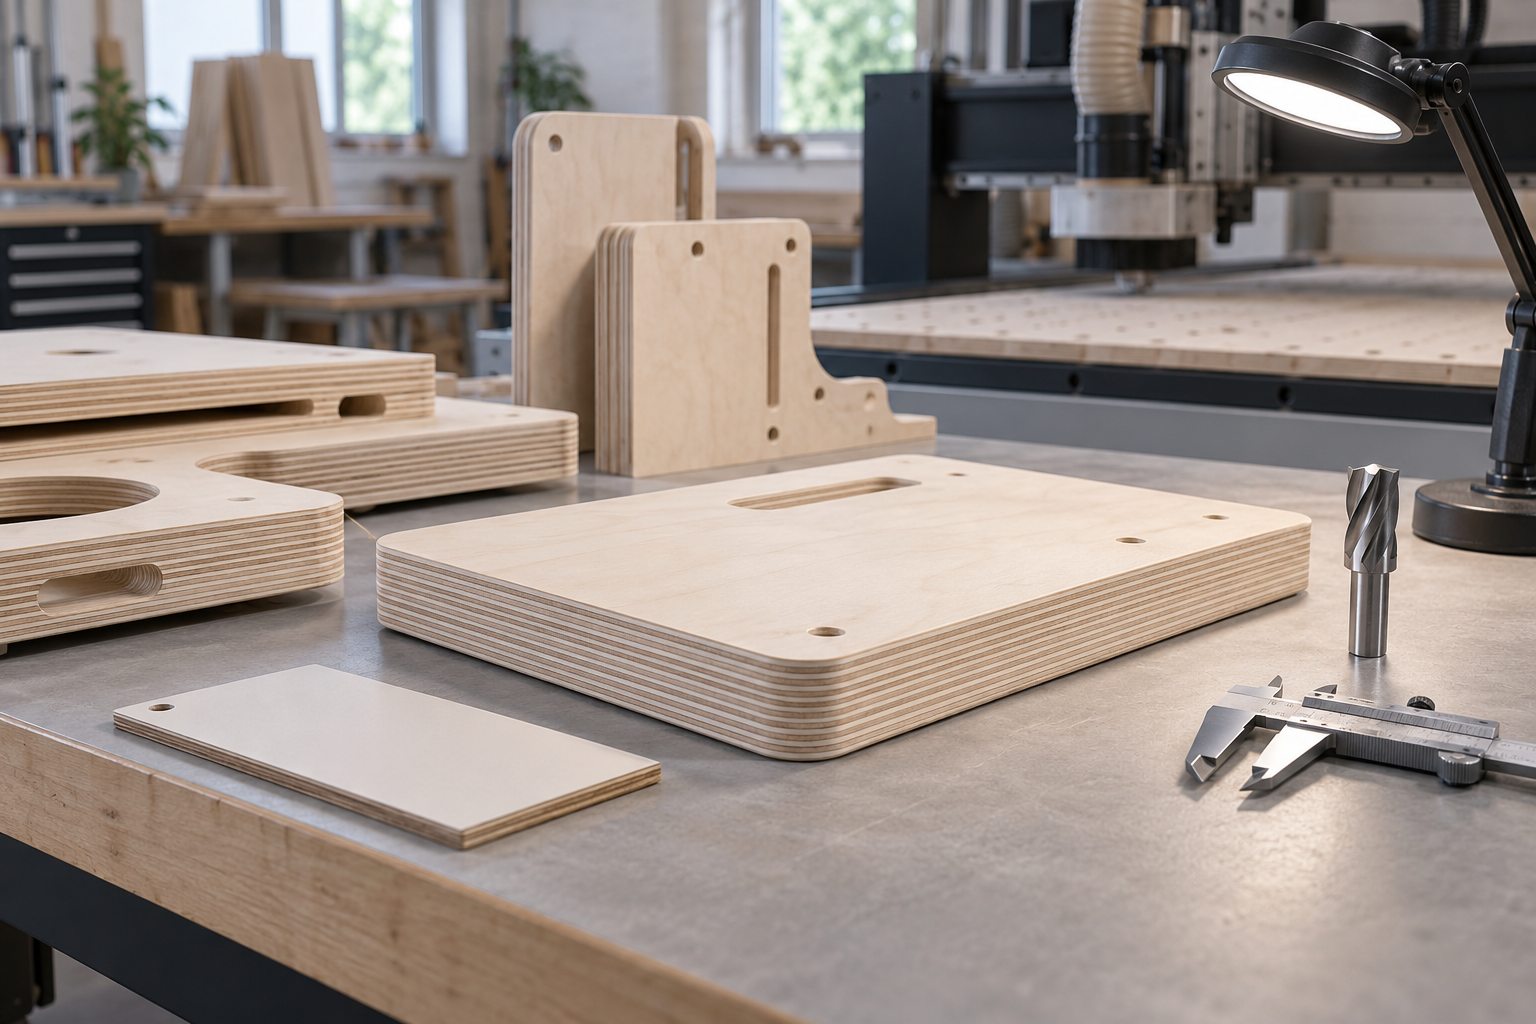
Furniture, joinery and component buyers often discover an edge-quality problem only after a full pack has entered production. A face grade can help describe the visible panel surfaces, but it does not by itself approve the appearance of a routed slot, a cut-out or an exposed laminated edge. The safer commercial decision is to qualify the actual component and process before a volume order is released.
1. Start with the finished component, not a generic sheet
Define the part that must be produced: drawing revision, panel thickness, face orientation, edge radius, holes, pockets, grooves, rebates and any edge that remains visible after assembly. Mark which surfaces will be painted, clear-coated, edge-banded or left exposed.
This turns “good machining quality” into an observable requirement. A cabinet side with a clear-finished edge, a painted retail fixture and an internal structural spacer may use the same nominal sheet but require different acceptance criteria. Record the intended EU, UK, Swiss or other European destination separately from the machining requirement; a market destination does not replace a technical specification.
2. Keep face appearance separate from the cut-edge result
ISO 2426-1:2020 establishes general rules for classifying plywood by surface appearance. ISO 2426-2:2020 addresses hardwood-faced plywood and describes characteristics and manufacturing defects used for visual allocation to an appearance class. These documents are useful for agreeing the panel faces, but their published scopes do not turn a surface class into a guarantee for every CNC-cut edge.
Therefore, specify both items: the required face grade and a separate approved edge sample. For a visible laminated edge, agree what must be recorded after machining—for example veneer breakout, exposed discontinuities, local delamination, burning, fibre pull-out, repair visibility and the maximum area that may be filled or rejected. Do not use vague claims such as “void-free” unless a measurable definition, sampling rule and acceptance limit are written into the order.
3. Freeze the CNC process before comparing samples
The sample is meaningful only if the process is controlled. Record the machine, cutter geometry and diameter, tool condition, spindle direction, feed direction, workholding, spoilboard condition, pass strategy and whether the final edge was sanded. Use the machine and tooling suppliers’ instructions for safe speeds, feeds, guarding and dust extraction; this article does not prescribe machine settings.
Run comparison samples with the same program and tooling. If one panel is routed with a new compression cutter and another with a worn straight cutter, the result cannot be attributed confidently to the plywood. Photograph the tool and label every part with panel ID, face orientation and program revision.
4. Sample across panels and pack positions
EN 326-1 covers rules for sampling, cutting test pieces, and expressing and presenting results to obtain information on wood-based panel properties. A commercial CNC trial is not automatically an EN 326-1 test, but the standard’s scope is a useful reminder that one convenient piece should not be treated as a whole-lot conclusion.
Before the trial, define the lot and sampling plan in writing. Select panels from more than one pack position and record panel and pack identities. If the edge is critical, place identical test features near different areas of the sheet rather than routing only one corner. Keep retained samples from both accepted and rejected observations so that buyer and supplier discuss the same evidence.
5. Build a visible-edge approval record
Use one inspection sheet for every first article. It should contain the drawing revision, panel specification, sample IDs, CNC program, cutter ID, photographs under consistent light, and the disposition of each critical feature. Inspect the edge before filling, sanding or coating, then record the result again after the intended finishing step.
Separate three questions in the record:
- Did the delivered panel match the agreed purchase specification?
- Did the controlled CNC process produce the approved component?
- Did any finishing operation conceal, improve or worsen the observed edge?
This separation prevents a machining artefact from becoming an unsupported material claim. It also makes corrective action clearer: change the panel specification, change the toolpath, add an edge-finishing step, or reject the sampled lot under the pre-agreed rule.
6. Release the volume order through a first-article gate
Attach the signed sample record, photographs and approved physical edge sample to the purchase order. State what triggers re-approval—such as a thickness or grade change, a revised drawing, a different tool, a new finish system or a supplier-agreed material change. Define who can approve a deviation and how affected parts are quarantined.
Nord Panels manufactures birch plywood in Kazakhstan using exclusively Kazakhstan-sourced birch raw material. For a project-specific discussion, send the component drawing, thickness, face requirement, visible-edge locations, finish system, expected order volume and destination through the Nord Panels contact page. The supplier can then propose a sample scope without presenting a laboratory standard or face grade as a substitute for the buyer’s actual CNC trial.
Sources checked on 17 September 2026: ISO 2426-1:2020, ISO 2426-2:2020, EN 326-1 and the live Nord Panels plywood and contact pages.